
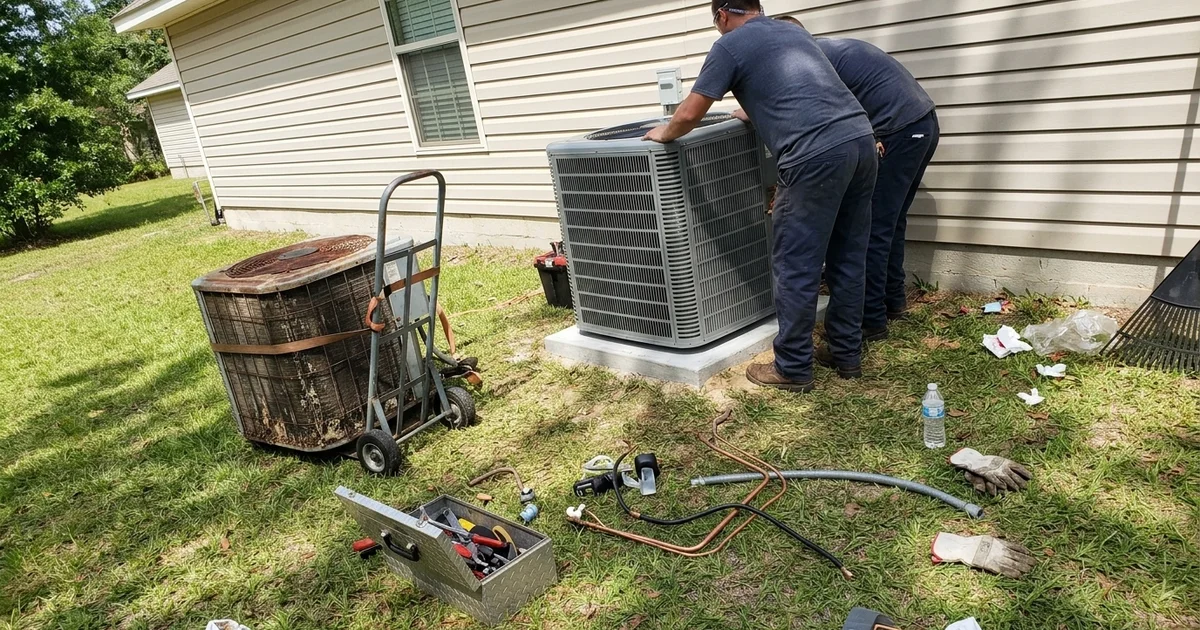
We know the feeling of relief when the final paperwork is signed for a new cooling system. The hard decisions about your AC replacement are finally behind you.
A licensed contractor has already run the crucial load calculation for correct sizing. Now, the focus shifts to your new ac install day.
A little preparation helps the entire process go smoothly.
Let’s look at the specific steps the crew takes and what you can do to get ready.
Before the Day
Preparing for installation day involves clearing paths, securing pets, and making driveway space for the local HVAC contractor. A small amount of planning prevents delays once the crew arrives at your home. We recommend taking care of these simple tasks the night before.
- Clear a 3-foot path to the outdoor unit and any indoor air handlers or attic hatches.
- Move vehicles out of the driveway so the installation truck has immediate access to their heavy equipment.
- Keep dogs and cats secured in a closed room away from open doors and noisy tools.
- Plan for the cooling system to remain off for most of the day.
Step 1: Arrival and Walk-Through
The installation begins with a brief walk-through to confirm equipment placement and review the project scope. The crew lead will verify the exact models being installed and check for any changes since the original estimate. We always suggest using this 15-to-30-minute window to ask the lead installer any final questions.
They will confirm where the new thermostat goes and how they plan to route the new materials.
Step 2: Removing the Old System
The crew safely recovers the old refrigerant before disconnecting and removing the existing indoor and outdoor units. Under EPA Section 608 regulations, technicians cannot legally vent old refrigerant into the air. The licensed contractors we connect you with use specialized recovery machines to pull the chemical into secure tanks.
Once the lines are safely emptied, the crew hauls away the old outdoor condenser and the indoor coil.
Step 3: Setting the New Equipment
The installers place the new outdoor unit on a leveled pad and connect the new indoor air handler to your existing ductwork. Down here on the Eastern Shore, local building codes require specific wind-load securing methods. The crew will strap the new condenser to a heavy composite or concrete pad using hurricane tie-downs.
Inside the house or up in the attic, the team sets up the new indoor coil. They install a brand-new drain pan, configure the condensate line connections, and add a mandatory float switch. This switch automatically shuts the system down if the drain clogs, preventing serious water damage to your ceiling.
Step 4: The Line Set
The crew evaluates the copper line set connecting your units to determine if it needs replacement or a chemical flush. The line set is the pair of copper tubes that circulate refrigerant between the indoor and outdoor equipment. Complete replacements are often needed when upgrading from an older R-22 system to modern equipment.
If the copper is accessible and in excellent condition, the contractor might use a specialized solvent like an RX-11 flush. This removes old mineral oil and debris. Proper cleaning is absolutely critical in 2026 as the industry shifts to newer refrigerants like R-454B, which do not mix well with older system oils.
Step 5: Evacuation
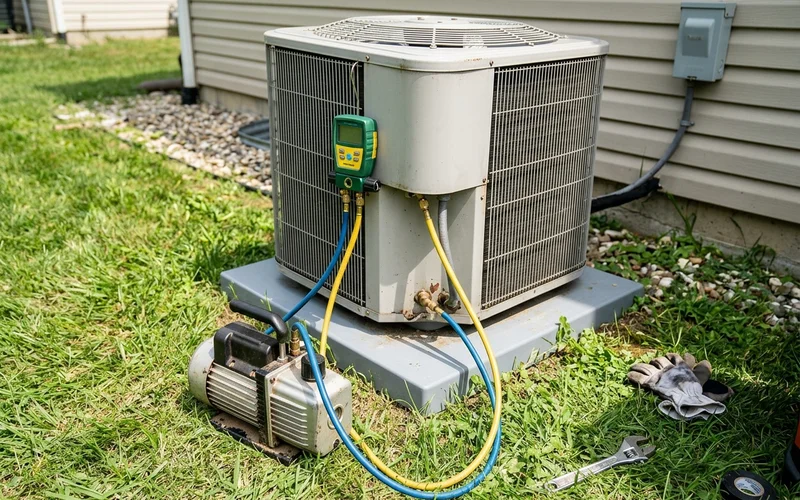
Technicians use a vacuum pump to pull a deep vacuum on the system, removing moisture and air before adding new refrigerant. This process ensures the copper lines are completely dry and holding a tight seal. A digital micron gauge confirms the vacuum level has dropped below the industry standard of 500 microns.
Skipping or rushing this evacuation process is a common installation shortcut that leaves system-killing moisture inside the copper. We strongly recommend checking that the crew uses a micron gauge rather than just guessing based on time.
Step 6: Charging and Electrical
The installation team wires the electrical components and charges the system with the exact amount of refrigerant specified by the manufacturer. They install a new electrical disconnect box within sight of the outdoor unit for safety. Adding a whole-system surge protector at this stage is a smart upgrade to shield the sensitive circuit boards from local power spikes.
The technicians then weigh in the refrigerant and measure the subcooling and superheat temperatures. Precise charging ensures the compressor operates efficiently and prevents premature failure during our intense Gulf Coast summers.
Step 7: Thermostat and Startup
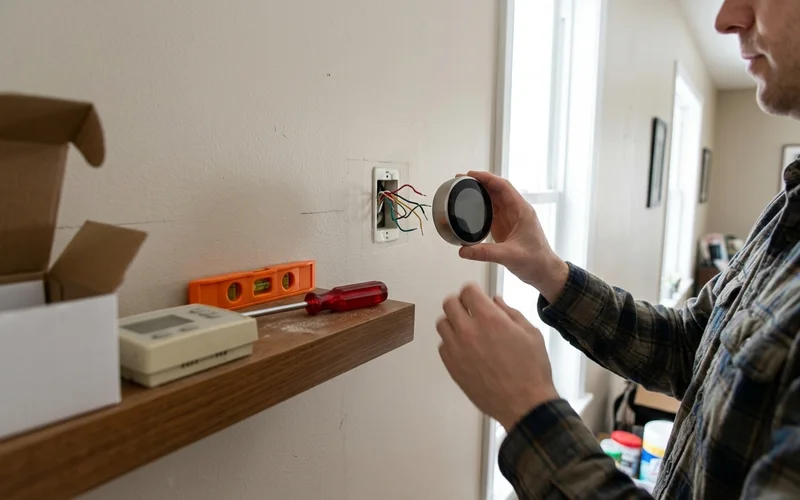
The crew wires in the new thermostat, activates the equipment, and measures the system’s vital performance metrics. A new smart thermostat or your existing control board is configured to communicate with the upgraded machinery. The installers then power on the unit to monitor its initial cycle.
We expect a quality crew to measure the static pressure of the ductwork and check the temperature drop across the indoor coil. A healthy system typically produces an 18 to 22-degree temperature difference between the supply and return air. The team also confirms the condensate drain is flowing freely outside.
Step 8: Wrap-Up
The lead installer walks you through the new thermostat controls, shows you the filter location, and reviews warranty paperwork. You need to know exactly which size air filter the new system requires and how often to change it. The contractor will also clean up all debris and ensure the old equipment is hauled off your property.
Ask the installation company to register the equipment with the manufacturer on your behalf, or make sure you complete it online yourself. Most major brands require registration within 60 days of installation to activate the full 10-year parts warranty. Failing to register the equipment often cuts your warranty coverage in half down to just five years.
Timeline at a Glance
Homeowners frequently ask us how long does ac installation take from start to finish. Knowing the typical schedule helps you plan your day, as most residential replacements take between six and eight hours to complete properly.
| Stage | Typical time |
|---|---|
| Walk-through and prep | Under an hour |
| Removal | 1 to 2 hours |
| Setting equipment and line set | 2 to 4 hours |
| Evacuation, charging, electrical | 1 to 3 hours |
| Startup and walk-through | About an hour |
Signs of a Quality Install
A high-quality installation features a level outdoor unit, neat copper lines, and properly sealed duct connections. You do not need to be an HVAC expert to spot good work. Look for these specific details before signing off on the job:
- A level outdoor unit resting on a solid composite pad, secured with hurricane tie-downs to meet coastal Alabama building codes.
- Neat, insulated refrigerant lines with UV-resistant Armaflex insulation intact all the way to the service valves.
- A proper electrical disconnect mounted securely within direct sight of the outdoor unit.
- A condensate drain with a trap and cleanout, alongside an active safety float switch on attic or closet units.
- Sealed connections coated with mastic paste or foil tape where the new coil or air handler meets the existing ductwork.
- Measured startup numbers. Ask the crew what readings they took. Good installers document the static pressures, superheat temperatures, and exact airflow.
- A clean work area with all old equipment, boxes, and metal scraps hauled away.
The First Few Weeks
Your new air conditioner will likely sound, feel, and operate differently than your old single-stage system. A modern variable-speed unit may run at a low capacity for up to 18 or 20 hours a day during a hot Daphne summer. This continuous operation is completely normal and serves as the primary method for extracting heavy humidity from the indoor air.
You should notice the house holds its set temperature much more evenly and feels significantly drier. We recommend keeping a close eye on the primary condensate drain line for the first few weeks to ensure water flows steadily. Call the installing contractor right away if you notice ice on the copper lines, water pooling around the indoor unit, unusual grinding noises, or specific rooms failing to cool. Most local installers expect a follow-up question or two and greatly prefer to handle minor adjustments early.
Permits and Inspection
Most local municipalities on the Eastern Shore require an official building permit to complete the ac installation process. The licensed contractors we connect you with handle pulling this permit directly through the city or Baldwin County offices. They will schedule the final municipal inspection, which generally takes place a few days or weeks after the initial installation.
Ready to start the process for your home? Call (251) 850-5502 for a free replacement estimate from a licensed Eastern Shore contractor.